INTRODUTION
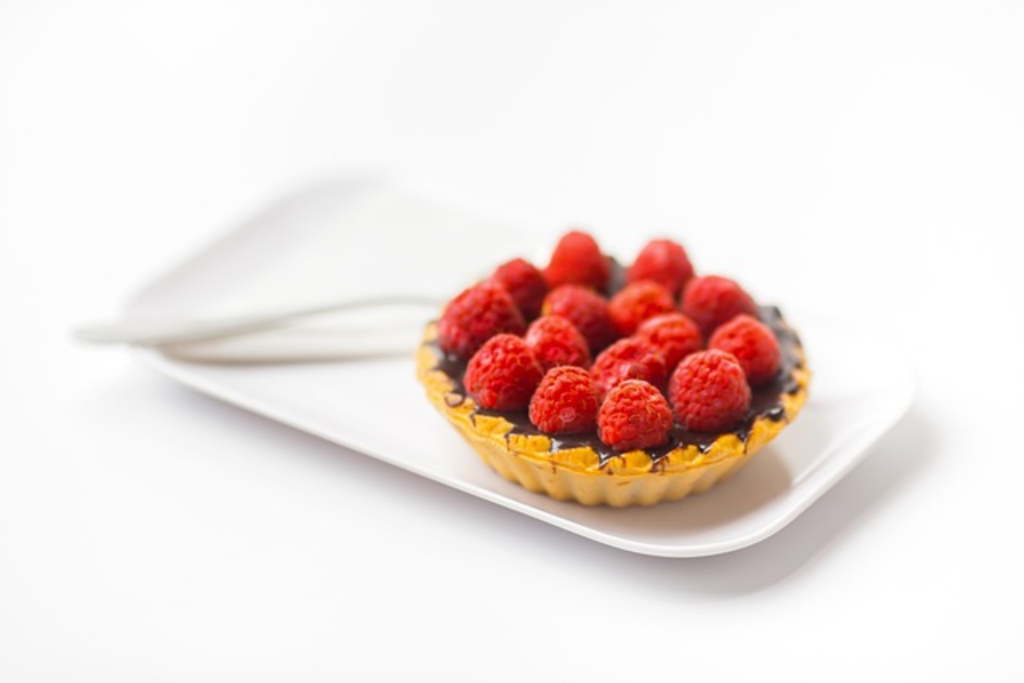
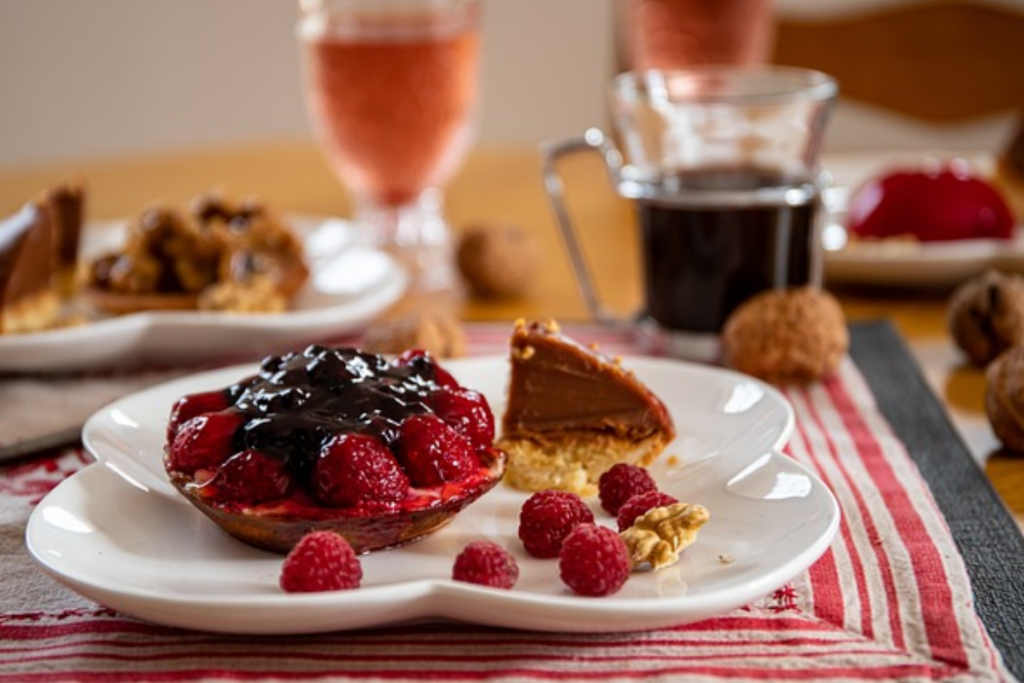
Delicate, vibrant, and bursting with flavor, a fruit tart is a timeless dessert that captures the essence of fresh, natural ingredients. Traditionally, this treat features a buttery pastry crust layered with creamy fillings and topped with an artful arrangement of seasonal fruits. However, for those with dietary restrictions, enjoying this classic dessert can often feel out of reach. That’s where the innovation of a gluten-free twist comes into play.
Crafting a gluten-free fruit tart requires attention to detail and a balance of textures and flavors that honor the original recipe. By substituting conventional flours with alternatives like almond or rice flour, it’s possible to achieve a crisp, flaky crust without compromising taste. The filling, often a silky pastry cream or mascarpone blend, complements the crust beautifully while allowing the fruits to shine.
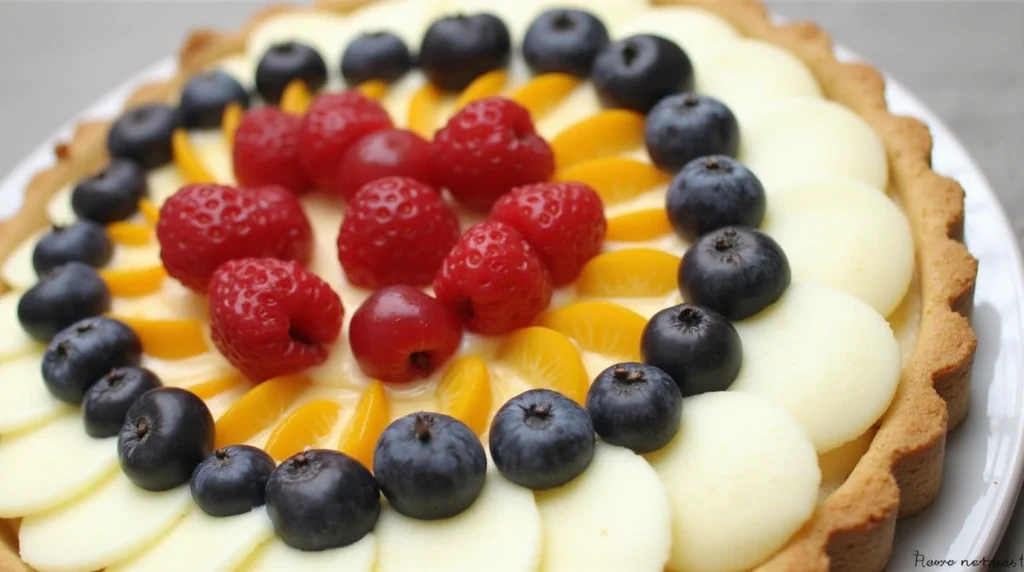
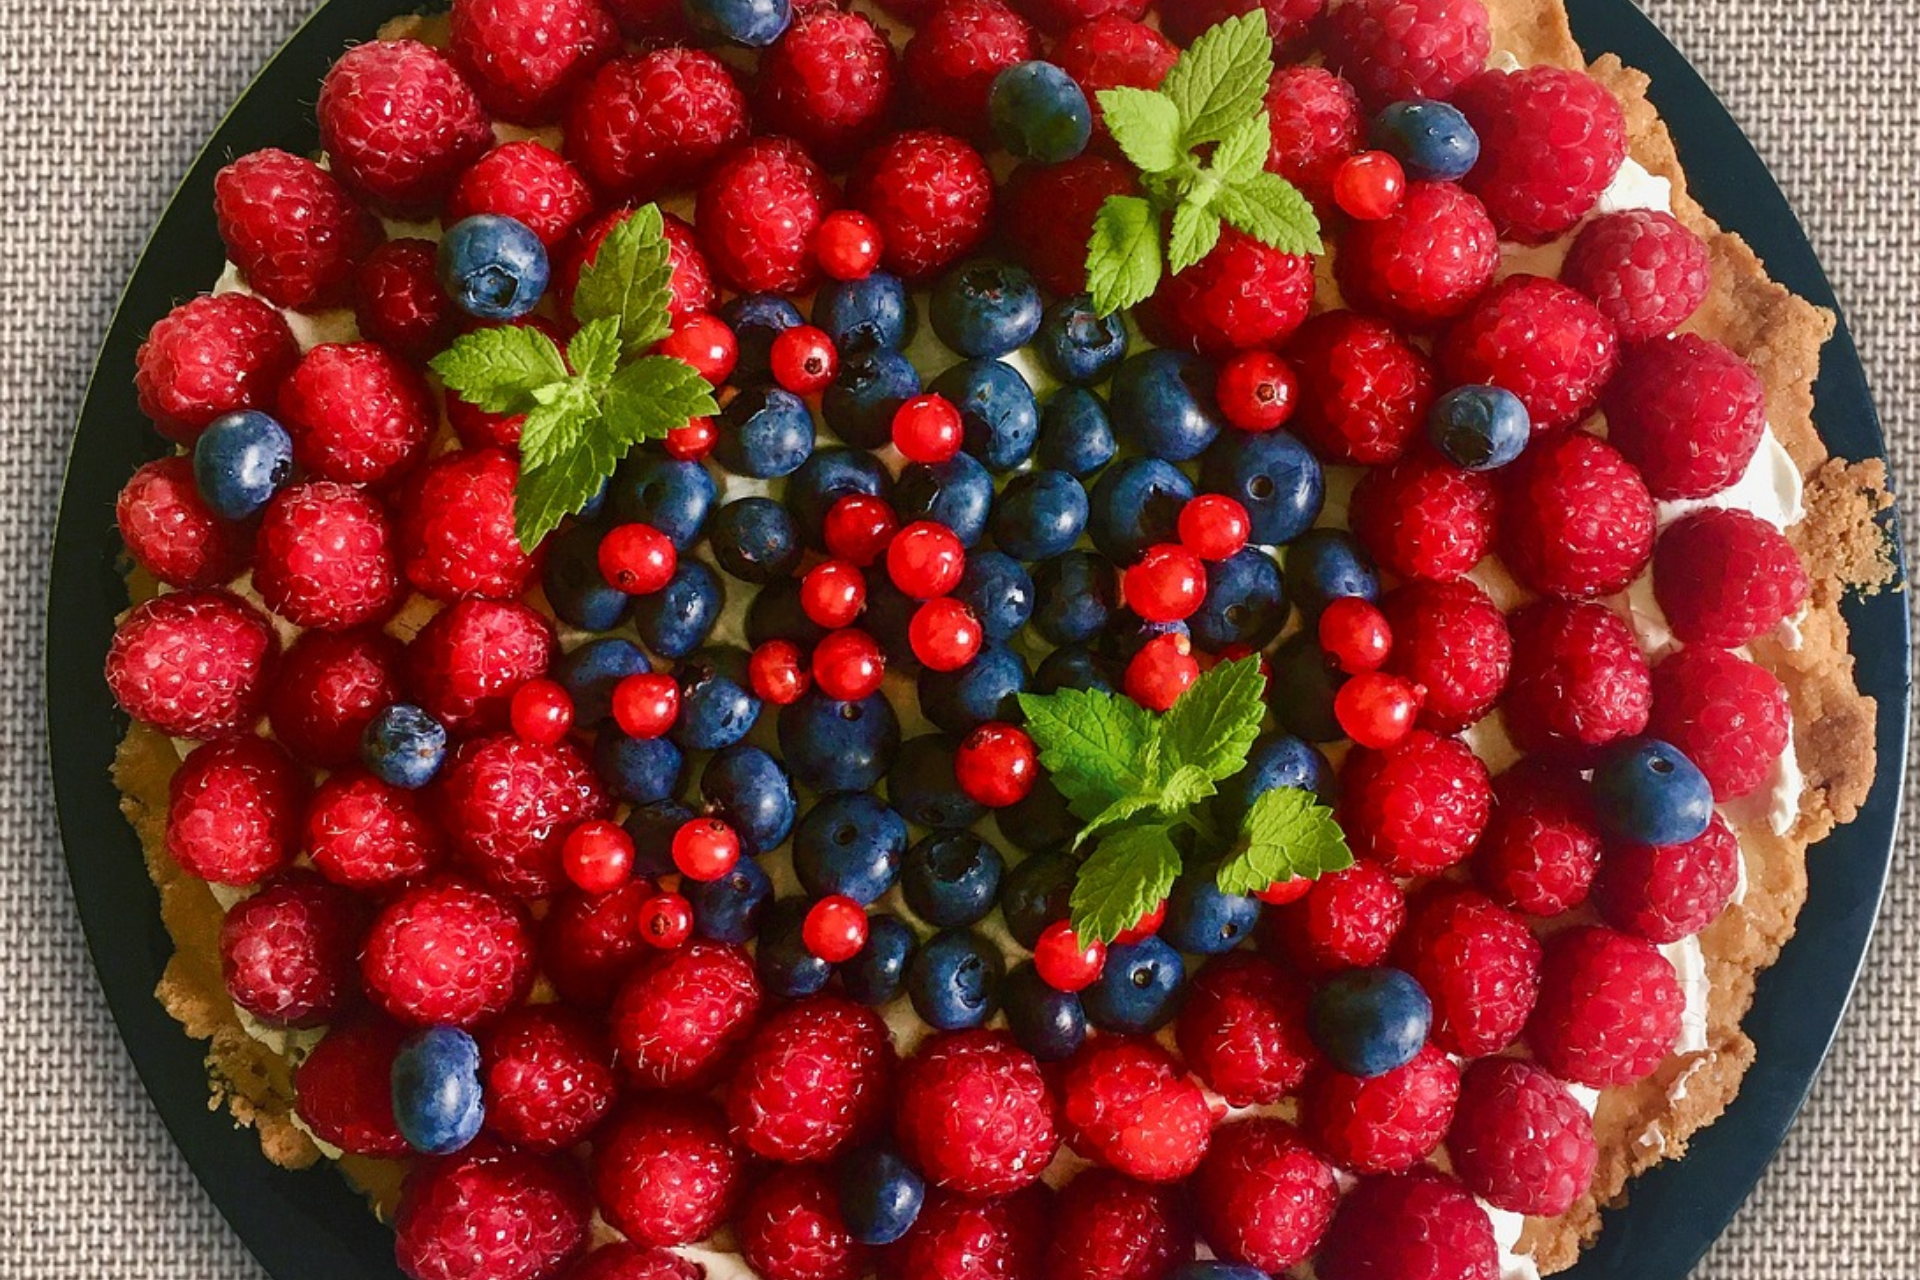
Whether it’s a vibrant display of berries, thinly sliced stone fruits, or exotic options like kiwi and passionfruit, the topping elevates the tart into a show-stopping centerpiece. A gluten-free adaptation ensures that this dessert remains accessible to everyone while maintaining its indulgent appeal. Perfect for celebrations or a refined afternoon treat, a gluten-free fruit tart combines artistry and inclusivity in every bite.
- INTRODUTION
- Understanding the Art of Gluten-Free Baking
- Essential Ingredients for Your Gluten-Free Fruit Tart
- Crafting Your Perfect Gluten-Free Tart Crust
- Creating the Perfect Fruit Filling
- Assembly and Baking Instructions
- Baking and Finishing Touches
- Troubleshooting Common Issues
- Health Benefits and Nutritional Information
- Frequently Asked Questions
- Final Tips for Success
- Conclusion: Your Gateway to Gluten-Free Baking Success
Understanding the Art of Gluten-Free Baking
Before diving into our star recipe, let’s unlock the secrets behind successful gluten-free baking. The journey to mastering gluten-free desserts might seem daunting at first, but armed with the right knowledge, you’ll be crafting perfect tarts in no time.
The Science Behind Gluten-Free Flour Blends
Traditional baking relies heavily on gluten for structure and elasticity. When creating gluten-free masterpieces, you’ll need to understand how different flour combinations work together to achieve that perfect texture. Your gluten-free flour blend should include:
- Protein-rich flours (almond, quinoa)
- Starches (tapioca, potato)
- Binding agents (xanthan gum)
This careful balance ensures your tart crust maintains its structure while remaining tender and flaky.
Essential Ingredients for Your Gluten-Free Fruit Tart
For the Perfect Gluten-Free Tart Crust
| Ingredients | Quantity | Notes |
|---|---|---|
| Gluten-free flour blend | 1 1/2 cups | Choose a high-quality blend |
| Unsalted butter | 1/2 cup | Cold and cubed |
| Granulated sugar | 1/4 cup | Adds sweetness and texture |
| Salt | 1/4 tsp | Enhances flavors |
| Cold water | 2-3 tbsp | For binding |
| Xanthan gum | 1/4 tsp | If your flour blend doesn’t include it |
For the Luscious Fruit Filling
| Ingredients | Quantity | Notes |
|---|---|---|
| Mixed fresh fruits | 3 cups | Seasonal selection |
| Granulated sugar | 1/3 cup | Adjust to fruit sweetness |
| Cornstarch | 2 tbsp | For thickening |
| Lemon juice | 1 tbsp | Brightens flavors |
| Vanilla extract | 1 tsp | Adds depth |
For the Custard Layer (Optional)
| Ingredients | Quantity | Notes |
|---|---|---|
| Plant-based milk | 2 cups | Almond or coconut work well |
| Egg yolks | 4 | Room temperature |
| Sugar | 1/3 cup | For sweetness |
| Cornstarch | 3 tbsp | Creates thickness |
| Vanilla bean | 1 pod | Or 1 tsp extract |
Crafting Your Perfect Gluten-Free Tart Crust
The foundation of any great fruit tart lies in its crust. Follow these detailed steps to achieve pastry perfection:
1. Preparing Your Ingredients
- Ensure all ingredients are properly measured
- Cube your butter and return it to the refrigerator
- Prepare your workspace with extra gluten-free flour for rolling
- Chill your mixing bowl and utensils
2. Mixing the Dough
- Whisk together your dry ingredients in the chilled bowl
- Cut in the cold butter using a pastry cutter or your fingertips
- Work quickly to maintain cold temperature
- Add water gradually until the dough just comes together
- Avoid overmixing to prevent a tough crust
3. Resting and Rolling
- Form the dough into a disk
- Wrap in eco-friendly cling film
- Chill for at least 30 minutes (or up to 24 hours)
- Roll between parchment papers to prevent sticking
Creating the Perfect Fruit Filling
Your fruit selection can make or break your tart. Here’s how to create a stunning and delicious filling:
Selecting Your Fruits
Choose fruits that:
- Are in season
- Have similar ripeness levels
- Complement each other in flavor
- Provide visual appeal
Popular combinations include:
- Summer berries medley
- Stone fruit harmony
- Tropical fruit fusion
- Classic apple and berry mix
Preparing Your Fruits
- Wash and dry all fruits thoroughly
- Cut larger fruits into uniform sizes
- If using berries, keep them whole for visual appeal
- Pat dry again to remove excess moisture

Assembly and Baking Instructions
Preparing Your Tart Pan
- Lightly grease your 9-inch tart pan
- Dust with gluten-free flour
- Remove excess flour by tapping
- Place pan on a baking sheet for stability
Rolling and Transferring the Dough
- Remove chilled dough from refrigerator
- Let rest for 5 minutes at room temperature
- Roll between parchment papers to 1/4-inch thickness
- Carefully transfer to prepared pan
- Press gently into corners and trim excess
Adding Your Filling
- Arrange fruits in a decorative pattern
- Start from the outside and work inward
- Layer fruits closely to prevent gaps
- Brush with warmed apricot jam for shine (optional)
Baking and Finishing Touches
Baking Your Masterpiece
- Preheat oven to 375°F (190°C)
- Place tart on middle rack
- Bake for 40-45 minutes
- Look for golden brown crust and bubbling filling
- Cool completely before serving
Storage and Serving Suggestions
Your gluten-free fruit tart will stay fresh:
- Room temperature: Up to 24 hours
- Refrigerated: Up to 3 days
- Freezer: Up to 1 month (though fresh is best)
Troubleshooting Common Issues
Crumbly Crust Solutions
If your crust is too crumbly:
- Add slightly more water next time
- Ensure proper measuring of ingredients
- Check your flour blend composition
- Consider adding more xanthan gum
Soggy Bottom Prevention
To avoid the dreaded soggy bottom:
- Blind bake the crust first
- Use a metal tart pan for better heat conduction
- Avoid overripe fruits
- Pat fruits dry thoroughly
Health Benefits and Nutritional Information
Nutritional Breakdown (Per Slice)
| Nutrient | Amount |
|---|---|
| Calories | 245 |
| Protein | 3g |
| Carbohydrates | 35g |
| Fiber | 2g |
| Sugar | 18g |
| Fat | 12g |
Health Benefits
Your gluten-free fruit tart offers numerous nutritional advantages:
- Rich in antioxidants from fresh fruits
- Contains healthy fats from nuts in flour blend
- Provides essential vitamins and minerals
- Lower in processed ingredients
- Suitable for various dietary requirements
Frequently Asked Questions
How can I ensure my gluten-free crust doesn’t fall apart?
The key lies in proper binding. Ensure your flour blend contains xanthan gum, and don’t skip the resting period. The cold butter and adequate chilling time are crucial for structural integrity.
Can I make this recipe dairy-free as well?
Absolutely! Replace butter with cold coconut oil or dairy-free butter alternatives. Just ensure your substitute is well-chilled before use.
What’s the best way to store leftover tart?
Cover loosely with foil and refrigerate for up to three days. Avoid plastic wrap as it can make the crust soggy.
Can I prepare components in advance?
Yes! The crust can be made and frozen for up to a month. The fruit filling should be prepared fresh for best results.
Final Tips for Success
To create a truly exceptional fruit tart, a few final tips can elevate your baking to new heights, ensuring both the aesthetic and flavor are flawless. Whether you are an experienced baker or just starting your gluten-free journey, attention to detail is key.
First, choose the right flour for your gluten-free crust. Almond flour, rice flour, or a pre-made gluten-free flour blend can all be excellent choices, but they each behave differently. Almond flour offers a nutty flavor and a slightly more delicate texture, while rice flour yields a crispier base. It’s important to experiment with different combinations until you achieve the perfect balance of flavor and structure.
Second, be mindful of the filling consistency. A smooth pastry cream or mascarpone mixture should complement the fruit tart crust without overwhelming it. When preparing the filling, take care to cook it slowly over low heat to avoid curdling. For a smoother texture, consider straining the filling before pouring it into the crust.
The selection of fruits is crucial for both taste and visual appeal. Seasonal fruits such as berries, kiwi, or citrus not only bring vibrant colors but also offer a natural balance of sweetness and acidity. Arrange the fruit artfully atop the filling, ensuring each piece stands out while allowing the natural beauty of the fruits to shine.
Lastly, remember to chill your gluten-free fruit tart before serving. This allows the flavors to meld and the filling to set properly, giving you a perfect slice every time. With these final tips, you can confidently create a show-stopping dessert that showcases the versatility and richness of gluten-free baking.

Conclusion: Your Gateway to Gluten-Free Baking Success
Creating a fruit tart that is both visually stunning and delectably satisfying doesn’t have to be limited by dietary restrictions. By embracing innovative approaches and high-quality ingredients, you can craft a dessert that rivals traditional recipes in taste and texture. A gluten-free version of this classic treat exemplifies how inclusive baking can celebrate indulgence without compromise.
From the crisp, buttery crust made with alternative flours to the velvety filling that cradles the vibrant fruits, every element of a gluten-free fruit tart is an invitation to savor excellence. The thoughtful use of fresh, seasonal fruits not only enhances the tart’s visual appeal but also provides a natural sweetness that perfectly balances the richness of the base.
This recipe serves as more than just a dessert—it is a statement that dietary accommodations can coexist with culinary artistry. For those venturing into the world of alternative baking, this tart is more than just a recipe; it is Your Gateway to Gluten-Free Baking Success. It embodies the endless possibilities of reimagining traditional desserts without sacrificing flavor, texture, or beauty.
In every bite, the fruit tart represents a harmonious blend of tradition and innovation, proving that gluten-free baking is not just a necessity but a craft worth mastering.
RELATED:Easy Gluten-Free Yellow Cake with White Chocolate: Step-by-Step Recipe


